Welcome to the delightful world of Chocolate Chip Pie, a delectable fusion of a classic chocolate chip cookie and a creamy pie. This indulgent dessert is a must-try for chocolate lovers, featuring a rich, gooey filling that tastes just like warm cookie dough baked inside a flaky pastry crust. Whether you’re a seasoned baker or a novice in the kitchen, this pie provides a nostalgic yet innovative twist on a beloved classic that is guaranteed to become a new family favorite!
Why You’ll Love This Recipe
🍪 Cookie Dough Goodness: The absolute perfect mashup of a warm, gooey chocolate chip cookie and a classic, comforting pie.
✨ Simple Ingredients: Relies on basic baking staples you likely already have sitting in your pantry.
🎉 Crowd-Pleaser: A universally loved dessert that feels special enough for holidays but is easy enough for a standard Sunday dinner.
🍦 A la Mode Perfection: Serving a warm slice of this pie with a cold scoop of vanilla ice cream provides an incredible contrast in both flavor and temperature.
🥣 Make-Ahead Friendly: The crust can be prepared days in advance, and the baked pie freezes beautifully!
Recipe Overview
- Prep time: 30 minutes
- Cook time: 45–50 minutes
- Total time: 1 hour 20 minutes
- Yield: 8 Servings
What You’ll Need
For the Flaky Pie Crust:
- 1 ½ cups All-purpose flour: The sturdy base of your pastry dough.
- ½ cup Cold unsalted butter: Cubed. Keeping this extremely cold is the secret to a flaky crust!
- ¼ cup Ice water: To bring the dough together without melting the butter.
- ½ tsp Salt: To balance the pastry.
For the Cookie Dough Filling:
- 1 cup Semi-sweet chocolate chips: The star of the show. (Use high-quality chips for the best melt!).
- ½ cup Unsalted butter: Melted.
- ½ cup Granulated sugar & ½ cup Packed light brown sugar: Using both adds depth of flavor and creates that signature chewy cookie texture.
- 2 Large eggs: To bind the filling and give it structure.
- ½ cup All-purpose flour: To help the gooey filling set up properly in the oven.
- 1 cup Chopped nuts: (Pecans or walnuts) for a satisfying, earthy crunch.
- Seasonings: 1 tsp pure vanilla extract and ½ tsp salt.
How to Make It (Step-by-Step)
Step 1: Prepare the Pie Crust
In a large bowl, mix the flour and salt. Add the cold butter cubes and use a pastry cutter (or your fingers) to blend until the mixture resembles coarse crumbs. Slowly add the ice water, one tablespoon at a time, mixing just until the dough holds together.
💡 Crucial Step: Form the dough into a disk, wrap it tightly in plastic wrap, and chill it in the fridge for at least 30 minutes. This relaxes the gluten and solidifies the butter, which is absolutely mandatory for a tender, flaky crust!
Step 2: Preheat and Roll
Set your oven to 350°F (175°C). On a floured surface, roll out the chilled dough into a circle about 12 inches in diameter. Carefully place it into a 9-inch pie plate, pressing it gently into the bottom and sides. Trim the excess dough, leaving a 1-inch overhang, and crimp the edges decoratively.
Step 3: Mix the Wet Ingredients
In a large mixing bowl, whisk together the melted butter, granulated sugar, and light brown sugar until completely smooth. Add the eggs one at a time, beating well after each addition. Stir in the vanilla extract.
Step 4: Fold in the Dry Ingredients
Stir the ½ cup of flour and ½ tsp of salt into the wet mixture until just combined. Finally, gently fold in the chocolate chips and chopped nuts. (Avoid overmixing to maintain a tender texture!).
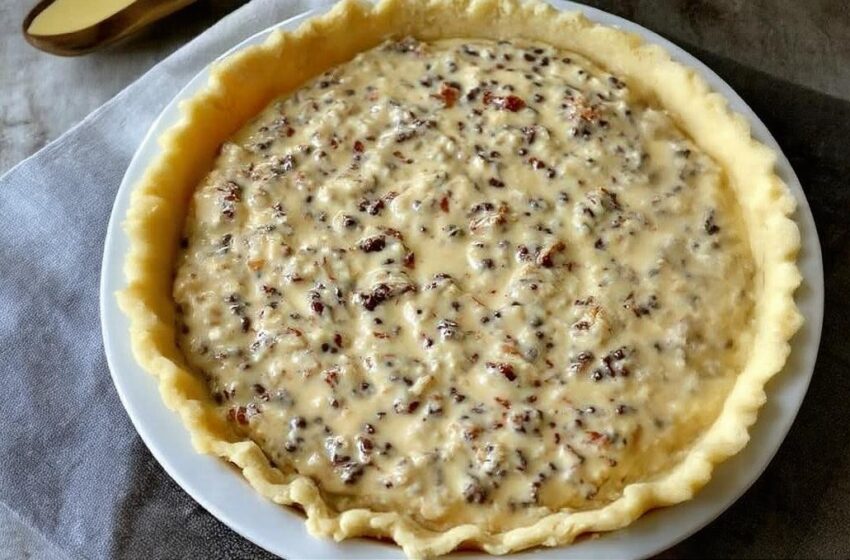
Step 5: Assemble and Bake
Pour the filling into your prepared pie crust, spreading it out evenly so it reaches all the edges. Place the pie plate on a baking sheet (to catch any potential overflow) and bake in the preheated oven for 45–50 minutes.
Step 6: Cool and Serve
The pie is done when the top is golden brown and a toothpick inserted into the center comes out clean. Remove from the oven and allow the pie to cool for at least 30 minutes before slicing to allow the gooey center to set. Serve warm!
💡 Expert Tips for Success
🛑 Keep It Cold: For a successful pie crust, it is essential to keep all ingredients—particularly the butter and water—as cold as possible. If your kitchen is very warm, chill your mixing bowl before starting!
🔥 The Jiggle Test: You will know the pie is ready to come out of the oven when the edges are set but the very center still has a gentle jiggle to it. It will continue to set as it cools.
🥣 Use a Baking Sheet: Always place your pie plate on a flat baking sheet before putting it in the oven. It makes transferring the heavy pie much easier and saves your oven floor from any accidental butter drips.
Variations and Substitutions
🌾 Gluten-Free Option: Replace the all-purpose flour in both the crust and filling with a high-quality 1:1 gluten-free flour blend (ensure it contains xanthan gum for the best texture).
🚫 Nut-Free: Simply omit the nuts entirely, or substitute them with an equal amount of extra chocolate chips, butterscotch chips, or even dried fruit for a chewy alternative.
🍫 Chocolate Tweaks: For a more intense, rich flavor, swap the semi-sweet chips for dark chocolate chunks. You can also mix in some milk chocolate chips for a sweeter, creamier touch.
☕ Flavor Twists: Add a teaspoon of instant espresso powder to the filling to enhance the chocolate flavor, or fold in a tablespoon of fresh orange zest for a bright, citrusy twist!
❓ Frequently Asked Questions (FAQs)
Can I use a store-bought pie crust?
Yes! If you are short on time, a store-bought refrigerated pie crust works perfectly fine for this recipe. Just try to find a brand that uses real butter for the best flavor.
Why is my pie filling runny?
If your pie filling is runny when you cut into it, it likely needed a bit more baking time, or it was sliced while it was still too hot. The pie must cool for at least 30 minutes after coming out of the oven so the filling can properly set up and hold its shape.
How do I store and reheat leftovers?
The baked pie can be stored covered at room temperature for up to 2 days, or refrigerated for up to a week. To get that freshly baked, gooey center again, reheat individual slices briefly in the microwave or a warm oven before serving.
Can I freeze this pie?
Absolutely. Wrap the fully baked and cooled pie tightly in plastic wrap and a layer of aluminum foil, then freeze for up to 3 months. Thaw it in the refrigerator overnight before serving.
Conclusion
Baking a Chocolate Chip Pie combines the deep, nostalgic comfort of a classic cookie with the elegant presentation of a pie. With its flaky, buttery crust and dense, gooey center, it creates an unforgettable dessert experience that will have everyone asking for the recipe. Grab your rolling pin, melt that butter, and get ready for a slice of pure, quiet comfort!